Answer
Learn how to use NodeRAG to assist models in generating domain-specific answers.
There are two ways to use NodeRAG:
- Direct module import in your code
- API client connection to a deployed NodeRAG service
Each method has its advantages. Direct import offers a simple and immediate integration for local use. However, if you plan to deploy NodeRAG as a service, using an API client is considered best practice.
1 - import module
Learn how to import modules to use NodeRAG directly in your code.
Import Modules
Build a search engine quickly with minimal setup:
from NodeRAG import NodeConfig, NodeSearch

# Load configuration from the main folder
config = NodeConfig.from_main_folder(r"C:\Users\Terry_Xu\Desktop\HP")

# Initialize search engine
search = NodeSearch(config)
Answer a Question
# Query the system
ans = search.answer('who is harry potter?')

# 'ans' is an object with several accessible attributes:

# Response: the generated answer to your question
print(ans.response)

# Number of tokens in the answer
print(ans.response_tokens)

# Retrieval info: the context used to generate the answer
print(ans.retrieval_info)

# Number of tokens in the retrieval context
print(ans.retrieval_tokens)
Notes
search.answer() returns an object that encapsulates both the answer and the retrieval context, along with useful metadata.- This method is ideal for quick integration into Python scripts or Jupyter notebooks, without setting up an API server.

2 - localhost
Learn how to set up the NodeRAG API client and generate answers from requests
Set Up API Client
Make sure you have already indexed your corpus, then start the API server with the following command:
python -m NodeRAG.search -f path/to/main_folder
This will launch a Flask-based API client.

You can modify the localhost address and port by updating config.url and config.port in your configuration file.
#==============================================================================
# Document Processing Configuration
#==============================================================================
config:
  # Search Server Settings
  url: '127.0.0.1'                  # Server URL for search service
  port: 5000                        # Server port number
Use in Terminal
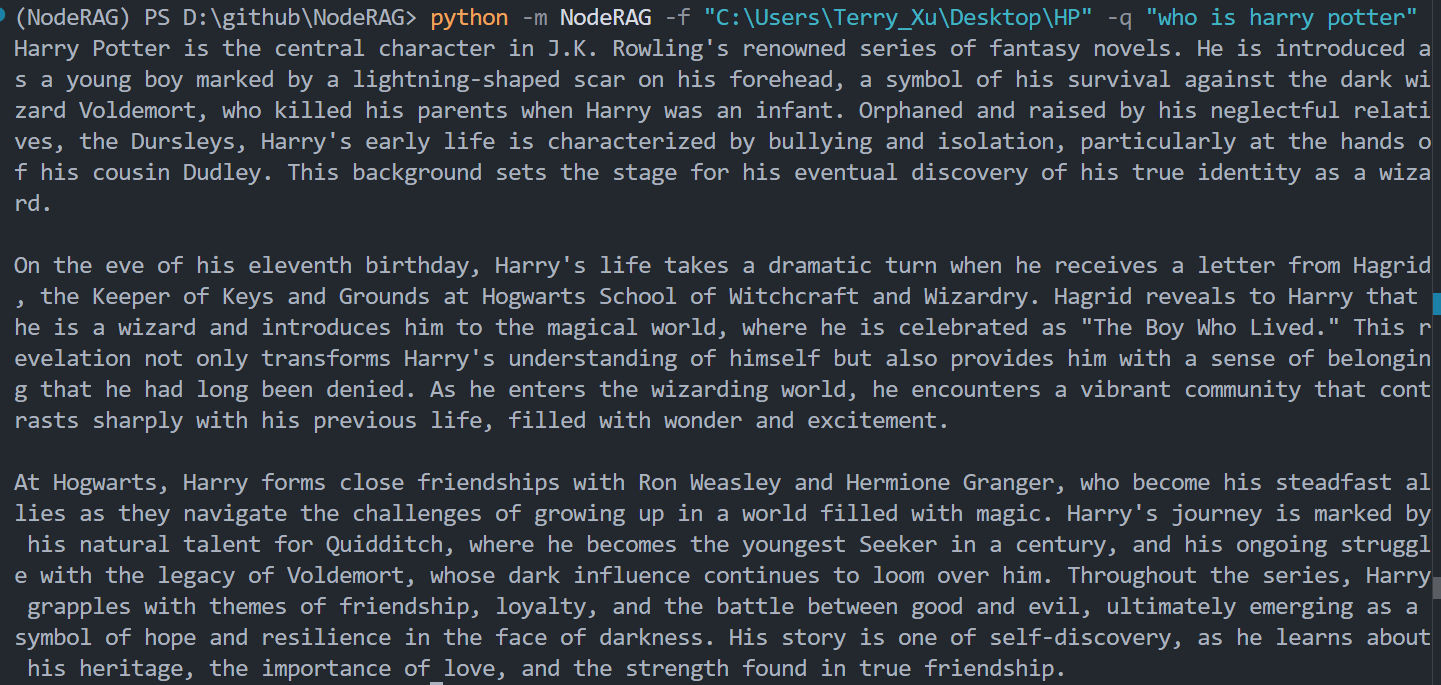
After setting up the client, you can use NodeRAG directly from the command line. The request code is fully encapsulated for ease of use.
Basic Query
python -m NodeRAG -f path/to/main_folder -q "your question"
Return Answer with Retrieval Context
To retrieve related context, use the -r flag:
python -m NodeRAG -f path/to/main_folder -q "your question" -r
To retrieve both the answer and its associated context, use the -r -a flag:
python -m NodeRAG -f path/to/main_folder -q "your question" -r -a
Use in Python / Jupyter Notebook (Common way)
You can interact with the NodeRAG API using Python or within a Jupyter Notebook via HTTP requests. Below is a common usage example.
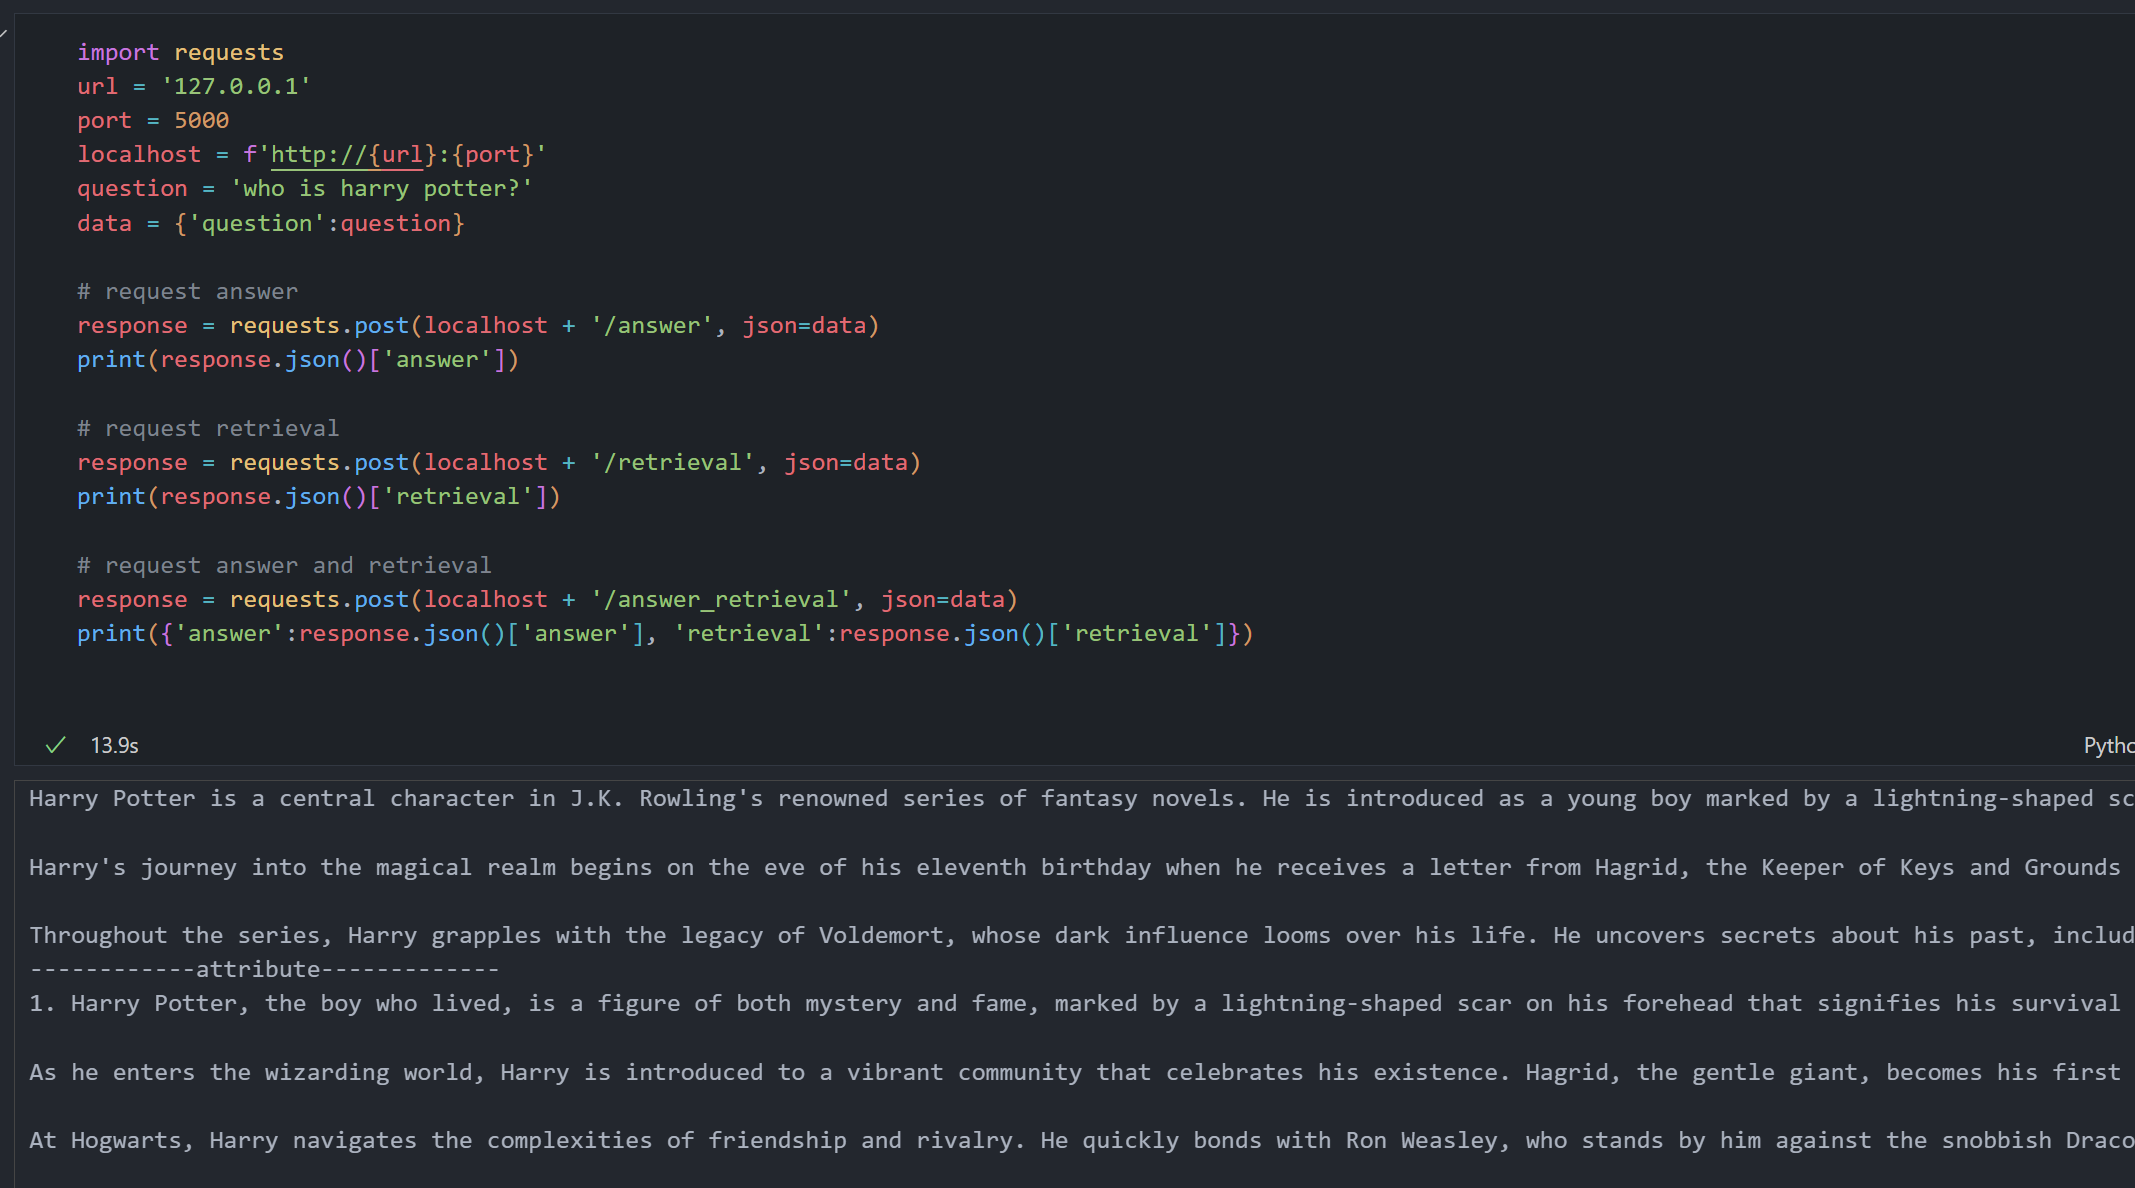
import requests

# Configure API endpoint
url = '127.0.0.1'
port = 5000
localhost = f'http://{url}:{port}'
question = 'who is harry potter?'
data = {'question': question}

# Request answer only
response = requests.post(localhost + '/answer', json=data)
print(response.json()['answer'])

# Request retrieval context only
response = requests.post(localhost + '/retrieval', json=data)
print(response.json()['retrieval'])

# Request both answer and retrieval context
response = requests.post(localhost + '/answer_retrieval', json=data)
result = response.json()
print({'answer': result['answer'], 'retrieval': result['retrieval']})
Explanation
POST /answer: Returns the generated answer to your query.POST /retrieval: Returns the relevant context retrieved from the corpus.POST /answer_retrieval: Returns both the answer and its associated context.
⚙️ Note: Ensure the API server is running before sending requests. You can configure the host and port in Node_config.yaml via config.url and config.port.