WebUI
2 minute read
Get familiar with project construction
The NodeRAG project has the following structure. You need to manually construct this structure by creating a project folder and placing the input folder inside it. In the input folder, place the corpus you need to RAG.
main_folder/
├── input/
│   ├── file1.md
│   ├── file2.txt
│   ├── file3.docx
│   └── ...
Key Directories
- main_folder: The root directory of the project.
- input: Contains all input files to be processed by NodeRAG. Supported file formats include:
.md,.doc, and.txt.
Quick Input Example
Download this txt file as a quick example to your input folder.
From the Beginning
To launch the WebUI, run the following command:
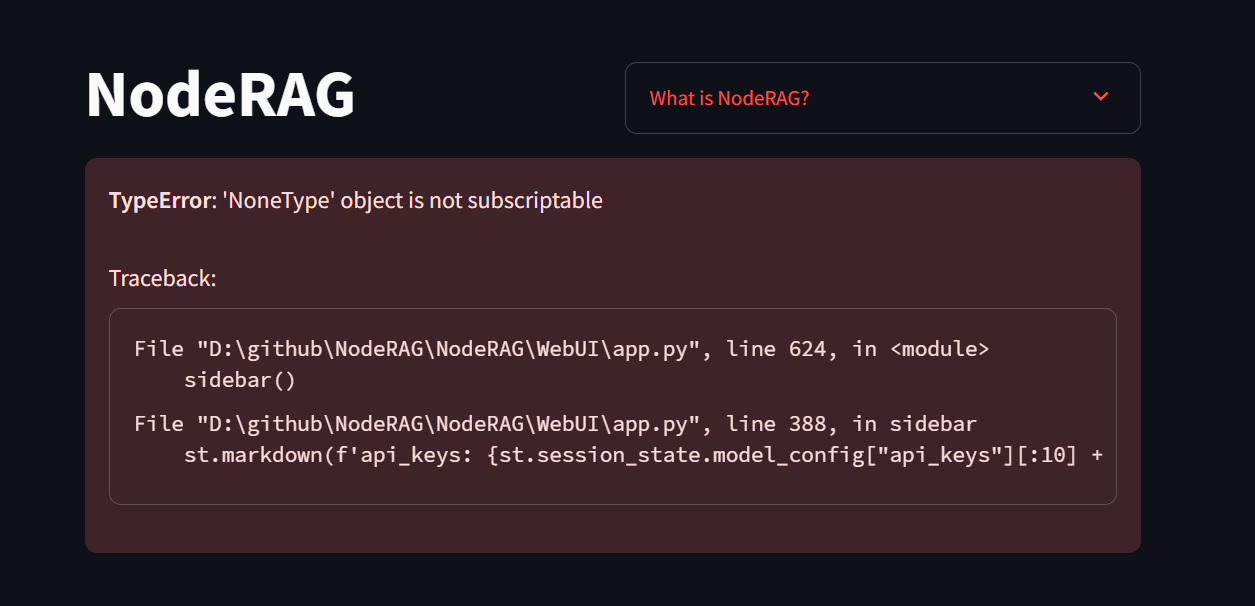
python -m NodeRAG.WebUI -f "C:\Users\Terry_Xu\Desktop\HP"
Note: It is normal to see an error the first time you run this command.
NodeRAG will automatically create aNode_config.yamlfile in your main folder.
Next Steps
Modify the configuration file to include your API credentials and service provider details.
This ensures NodeRAG can access the correct API endpoints.To quickly try out the NodeRAG demo, add your OpenAI API key.
If you don’t have an API key, refer to OpenAI Auth.Enter the API key in both the
model_configandembedding_configsections.
Example Configuration (Node_config.yaml)
#==============================================================================
# AI Model Configuration
#==============================================================================
model_config:
  model_name: gpt-4o-mini        # Model used for text generation
  api_keys:                      # Your OpenAI API key here

embedding_config:
  api_keys:                      # Your OpenAI API key here
For detailed configuration instructions, see the Configuration Guide.
Indexing
After completing the configuration, return to your browser and refresh the page.
You should now see the WebUI interface displayed correctly.
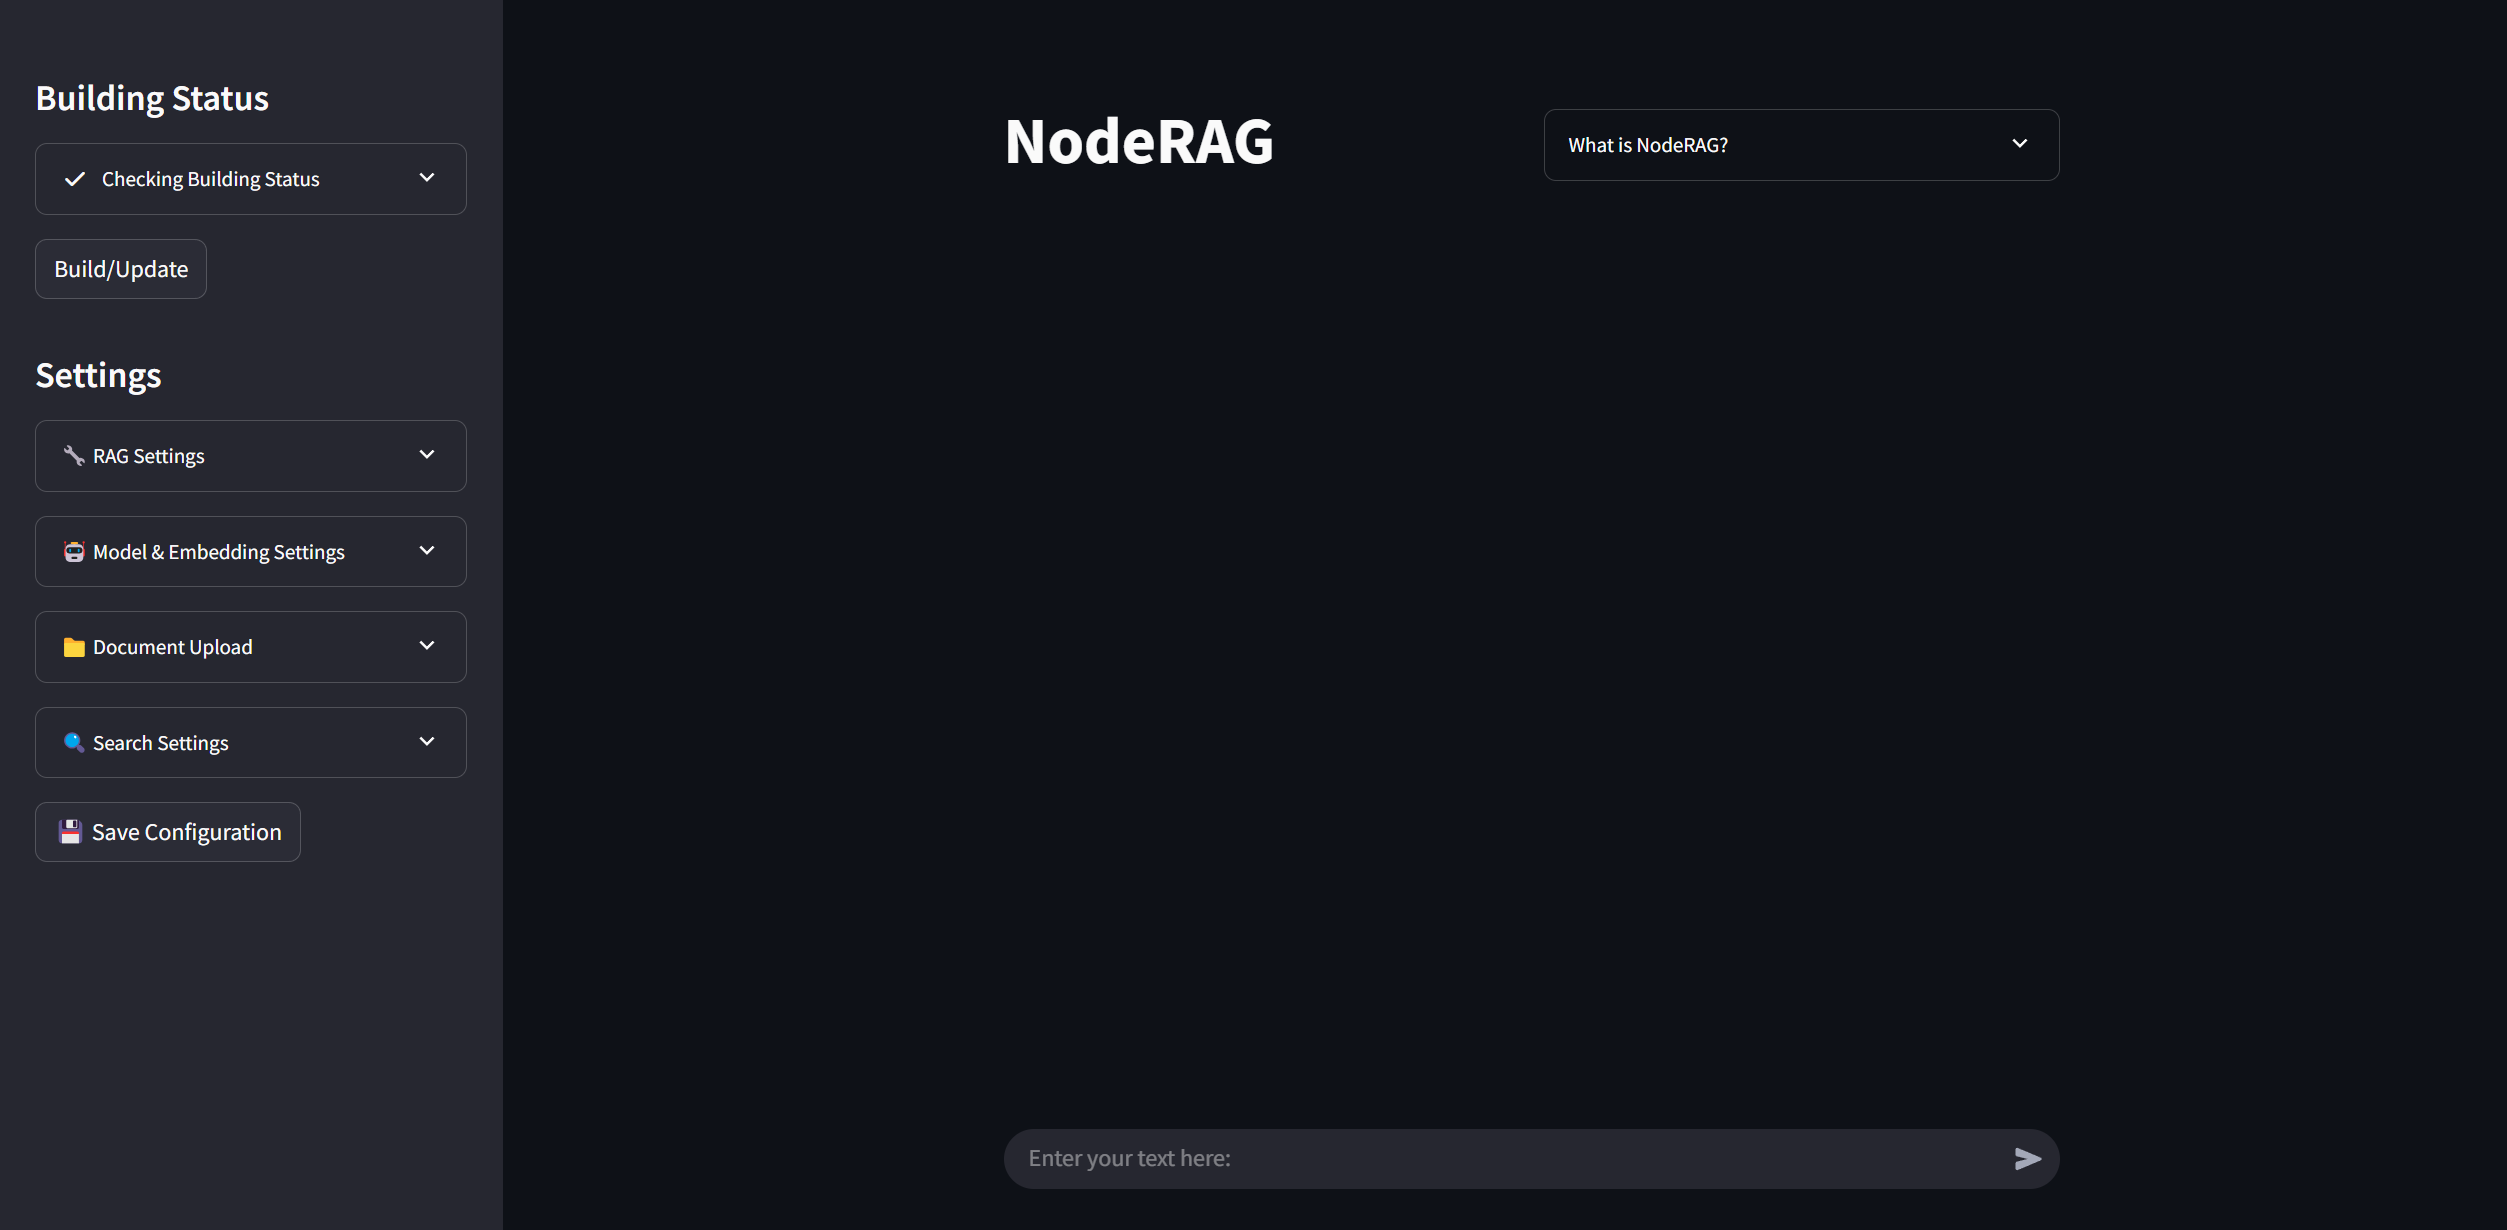
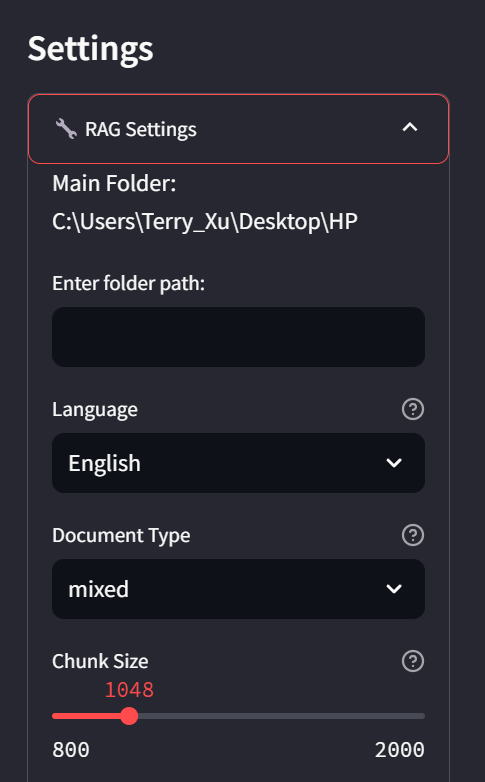
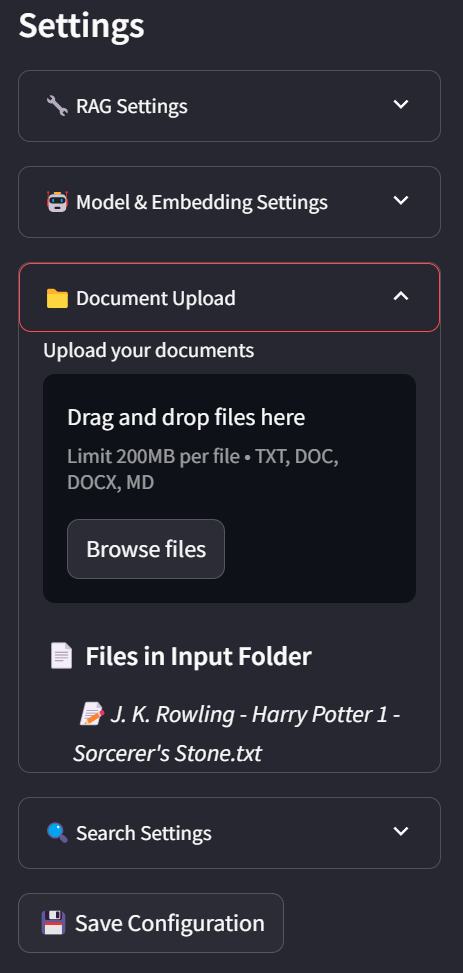
In the sidebar, you can view the current status and configuration parameters.
You may adjust these parameters to suit your preferences.
You can also import files by dragging them directly into the file system panel.
To save all your configuration settings, click the Save Config button.
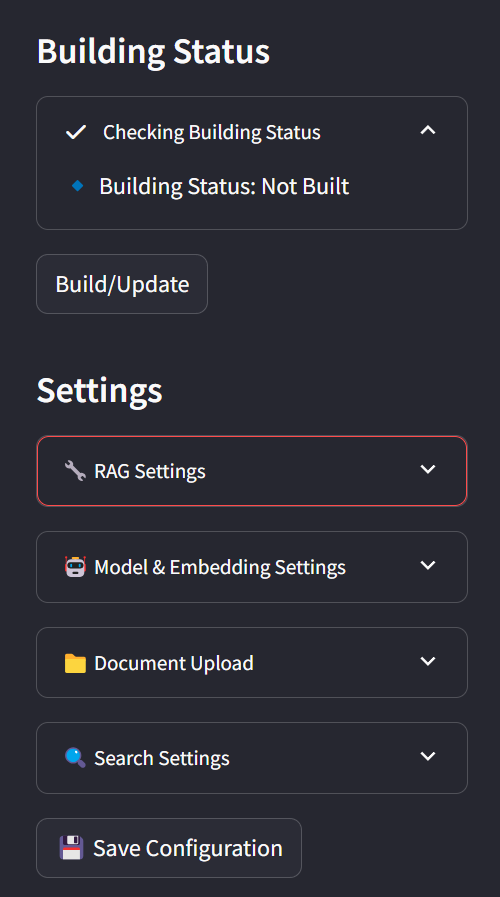
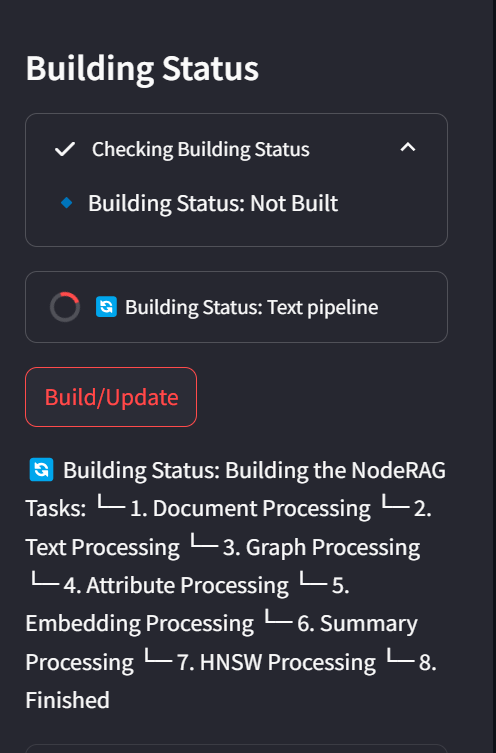
When you’re ready, click the Build button to start indexing your corpus.

Build Process
Building the index may take some time depending on the size of your corpus.
You can monitor the progress through the WebUI or via logs in the Python backend.

Once the build is complete, you will see the Search Engine option enabled, the status will show Finished, and the Indices section will appear.
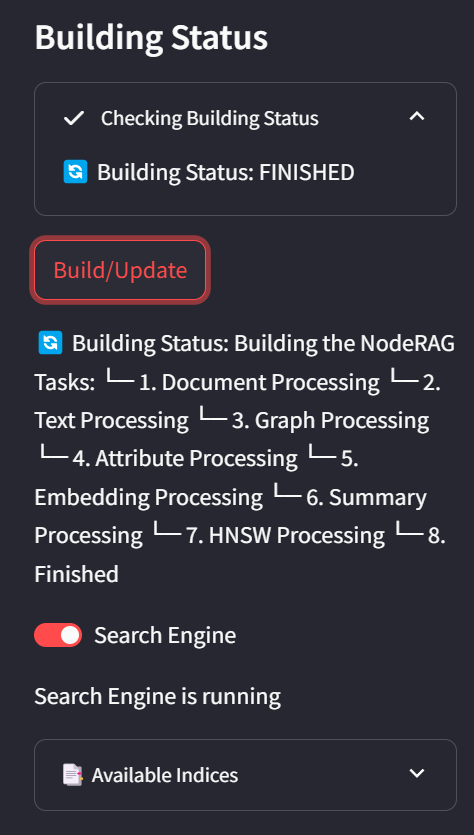
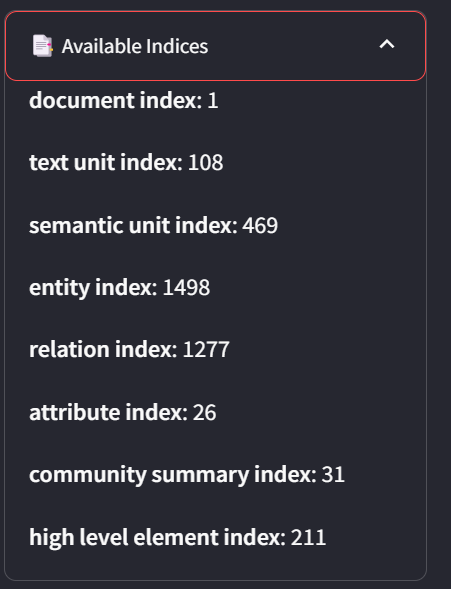
In the Indices tab, you can view detailed statistics for all nodes in your corpus.
Asking
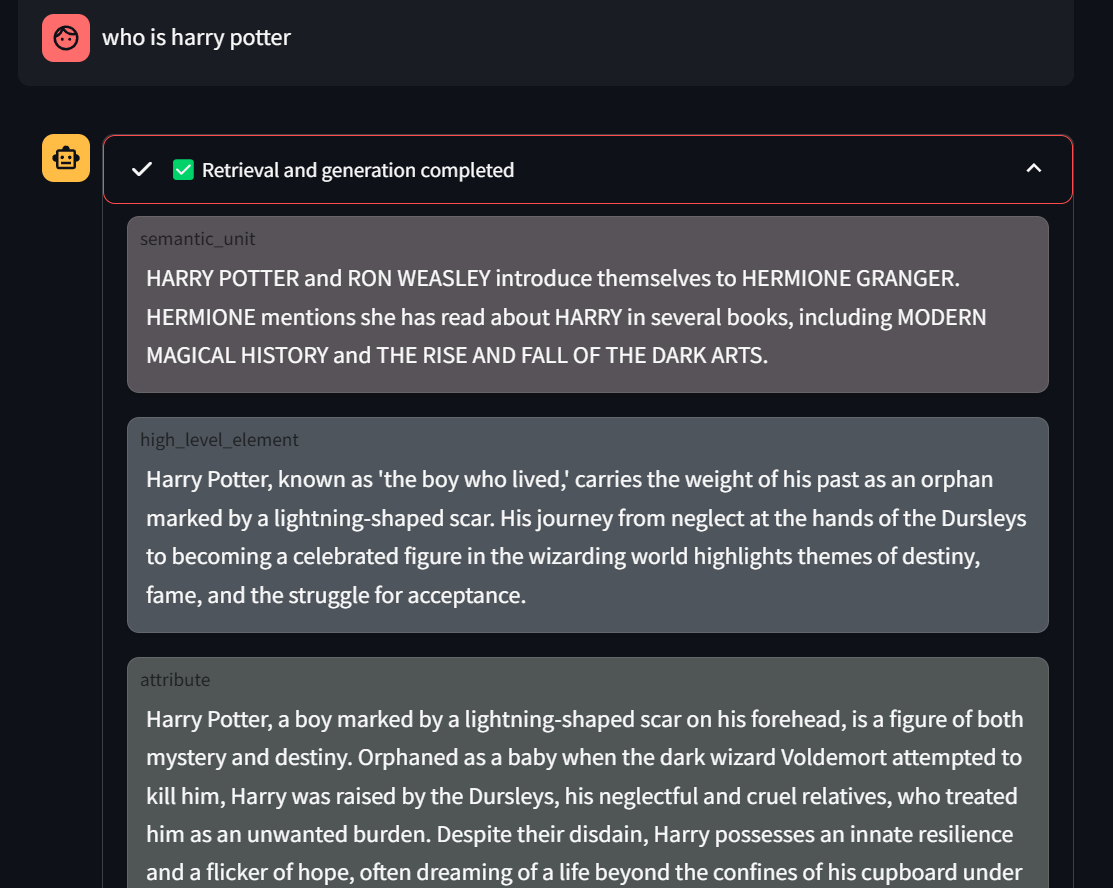
🎯 It’s time to ask domain-specific questions — cheers! 🎉
📄 Relevant retrieval context will be displayed above each answer.

Feedback
Was this page helpful?
Glad to hear it! Please tell us how we can improve.
Sorry to hear that. Please tell us how we can improve.