Indexing of NodeRAG
python -m NodeRAG.build -f path/to/main_foulder
When you first use this command, it will create Node_config.yaml file in the main_folder directory.

Modify the config file according to the following instructions (add API and service provider) to ensure that NodeRAG can access the correct API.
To quickly use the NodeRAG demo, set the API key for your OpenAI account. If you don’t have an API key, refer to the OpenAI Auth. Ensure you enter the API key in both the model_config and embedding_config sections.
For detailed configuration and modification instructions, see the Configuration Guide.
#==============================================================================
# AI Model Configuration
#==============================================================================
model_config:
  model_name: gpt-4o-mini            # Model name for text generation
  api_keys:    # Your API key (optional)

embedding_config:
  api_keys:    # Your API key (optional)
Building
After setting up the config, rerun the following command:
python -m NodeRAG.build -f path/to/main_folder
The terminal will display the state tree:
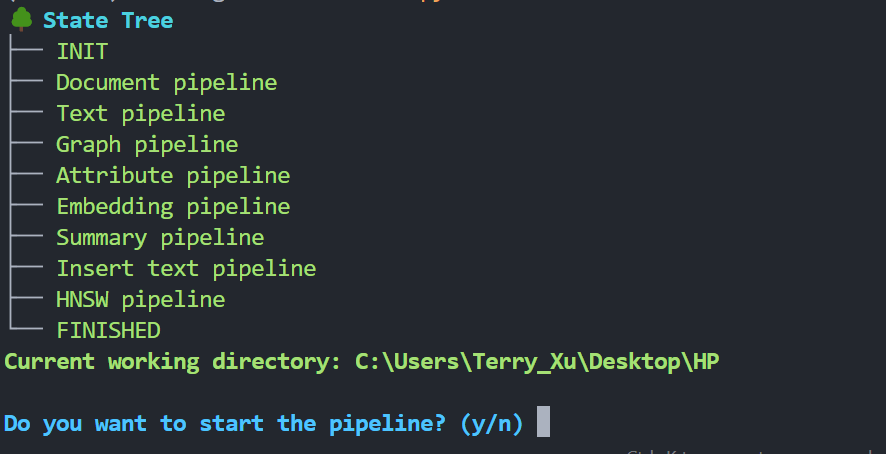
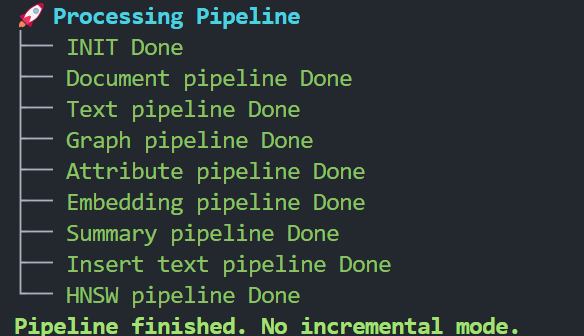
Press y to continue. Wait for the workflow to complete.

For more detailed information about NodeRAG configuration, indexing, and usage, please refer to our documentation.
Answer and Evaluation
First, prepare your test questions according to the benchmark format. You’ll need to create a test set parquet file containing questions and their corresponding answer keys. Once ready, you can run the evaluation with:
python -m /eval/eval_node -f path/to/main_folder -q path/to/question_parquet